If you have a furry friend at home, you know that keeping up with their grooming needs is part of the joy of pet ownership. One of the most essential grooming tasks is nail trimming. For many dog owners, this chore can seem daunting, especially with a strong-willed breed. However, with the right approach, you can make nail trimming a breeze. In this guide, we’ll walk you through a simple 10-step process to easily trim your dog’s nails at home.
1. Gather Your Supplies
Before you start trimming your dog’s nails, it’s crucial to have the right tools on hand. You don’t need a lot, but a few essentials will make the process smoother. Look for a high-quality pair of dog nail clippers. Scissor-type or guillotine-style clippers are commonly used, so choose the one that feels most comfortable in your hand.
Additionally, you may want to have a nail file or grinder on hand. These tools can help smooth out any sharp edges after you’ve trimmed the nails. A styptic powder or cornstarch is also essential, as it quickly stops bleeding in case you accidentally cut too far.
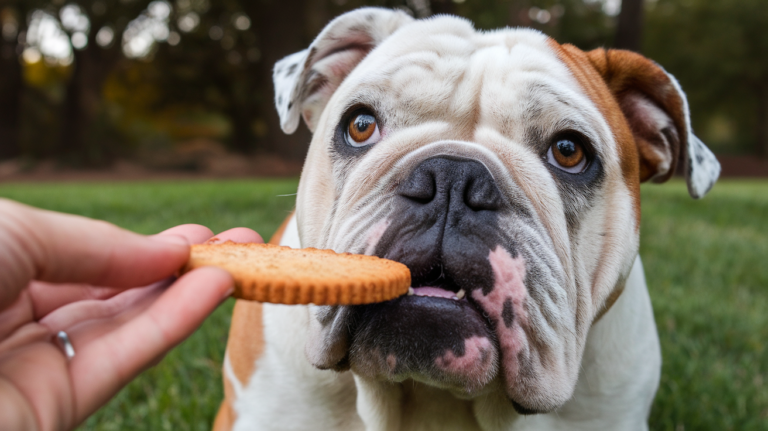
Lastly, don’t forget to have some treats ready! Positive reinforcement can go a long way in making this process enjoyable for your pet.
2. Prepare Your Dog
Preparing your dog for the nail trimming session is key to a stress-free experience. Start by familiarizing your dog with the clippers. Let them sniff the clippers and reward them with treats to create positive associations.
Find a quiet place where your dog feels safe and comfortable. This could be a cozy area in your living room or your backyard. It’s important that your dog is calm before you begin. A quick play session can help burn off excess energy, making them more receptive to the grooming session.
If your dog is particularly anxious, you might consider having someone hold them gently or using a calming vest designed for dogs. The goal is to ensure your dog associates grooming with pleasant experiences.
3. Positioning the Dog
How you position your dog can greatly influence the nail trimming process. If your dog is small, it may be easier to place them on a table or countertop. For larger breeds, you might want to do this on the floor where they feel secure.
Be sure to have everything within arm’s reach so that you don’t have to leave your dog unattended. Positioning yourself in a way that allows you to comfortably balance your dog and hold their paw is crucial. Gently lift one paw at a time and keep the other three firmly on the ground.
This not only helps your dog feel secure but also keeps them from squirming away during the task.
4. Examine the Nails
Before you begin trimming, take a moment to examine your dog’s nails. This will help you identify which nails need trimming and how much to cut. Look for the quick, which is a sensitive area inside the nail that contains blood vessels and nerves.
In dogs with dark nails, it can be tricky to see the quick, so be extra cautious. Trim only small amounts at a time to avoid cutting into the quick. If you have a flashlight, it can help illuminate the area and reveal the quick more clearly.
Identifying the right cutting point can save you and your pet a lot of distress.
5. The Trimming Process
Now it’s time to start the trimming process. Take the nail clippers and gradually trim a small portion of the nail. Begin with the outer tip, aiming to cut straight across the nail. This helps prevent splitting or cracking.
If your dog becomes anxious or wiggly, take a break and give them a treat. It’s essential to remain calm and patient throughout this process. If you encounter resistance, try trimming just one or two nails at a time, rewarding your dog with treats in between.
Regular breaks can make the experience less overwhelming for both of you.
6. Utilize Positive Reinforcement
Using positive reinforcement is a fantastic way to turn nail trimming into a more enjoyable experience for your dog. After each nail you successfully trim, offer a treat and plenty of praise. This helps your dog associate nail trimming with positive feelings.
If your dog becomes too anxious, don’t force the issue. Instead, take a break and allow them some time to calm down. You can also use a favorite toy as a distraction while you trim their nails.
Remember, the goal is to create a calming environment so that your dog feels safe and relaxed during nail trimming sessions.
7. Handle the Quick with Care
As mentioned earlier, it’s crucial to avoid cutting into the quick of your dog’s nails. Should you accidentally catch the quick, it can bleed and cause discomfort. This is where having styptic powder or cornstarch ready comes in handy.
Apply a small amount of the powder directly to the nail to help stop the bleeding. Most dogs will jump slightly at the sensation, so be gentle. Afterward, give your dog extra love and attention to reassure them.
To prevent any traumatic experiences, be certain to take only small trims at first. This minimizes the risk of cutting the quick and helps your dog feel more secure.
8. Post-Trimming Care
Once you’ve finished trimming your dog’s nails, take a moment to inspect the job you’ve done. Check for any rough edges and use a nail file or grinder to smooth them out if necessary. This can help prevent issues such as snagging or injury from sharp nail tips.
Aftercare is just as important as the actual trimming process. Spend some time bonding with your pet through gentle petting or playtime. This reinforces the idea that nail trimming is a positive experience.
Also, keep an eye on your dog’s paws in the following days. Look for any signs of irritation or discomfort after nail trimming.
9. Schedule Regular Trimming Sessions
Maintaining your dog’s nails is an ongoing task. Depending on their activity level, you may need to trim nails every 3-4 weeks. Regular maintenance helps keep their nails healthy and prevents overgrowth, which can cause pain or foot problems.
Mark your calendar to keep track of trimming dates. Early detection of nail length helps you know when to trim, helping to avoid any painful scenarios for your dog.
Creating a routine makes the task less daunting for both you and your pet. Plus, your dog will get accustomed to the process, making future trimming sessions easier.
10. Seek Professional Help if Needed
While many pet owners successfully trim their dog’s nails at home, don’t hesitate to seek professional assistance. If you are uncomfortable or unsure about the process, a professional groomer can help.
Many veterinarians and grooming salons offer nail trimming services that can be both quick and affordable. They can also provide valuable tips and techniques if you wish to learn how to do it yourself in the future.
If your dog shows extreme anxiety or resistance to nail trimming, professional help may be necessary. It’s important to ensure their comfort and well-being.
Take Home Message
Nail trimming doesn’t have to be a stressful experience for you and your dog. By following this 10-step guide, you can simplify the process and make it a more enjoyable part of your grooming routine. Remember to gather the right supplies, start with proper preparation, and use positive reinforcement throughout the process.
With patience, practice, and love, you’ll make nail trimming a positive experience. Regular maintenance will help keep your dog’s paws healthy and your home free from scratches. So roll up your sleeves and get ready to pamper your pooch!